How to Buy FTN
Want to buy Fasttoken (FTN) but not sure where to start? Here’s a quick guide to purchasing FTN on Fastex Exchange.

Step-by-Step Guide on
How to Buy Fasttoken (FTN)
STEP 1
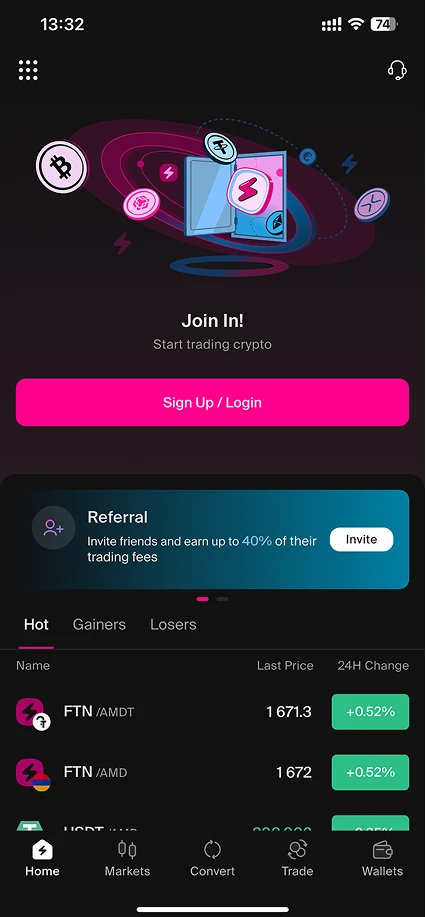
Create and Verify Your Account
- Sign up on Fastex Exchange using your email and a secure password.
- Verify your email by clicking the confirmation link.
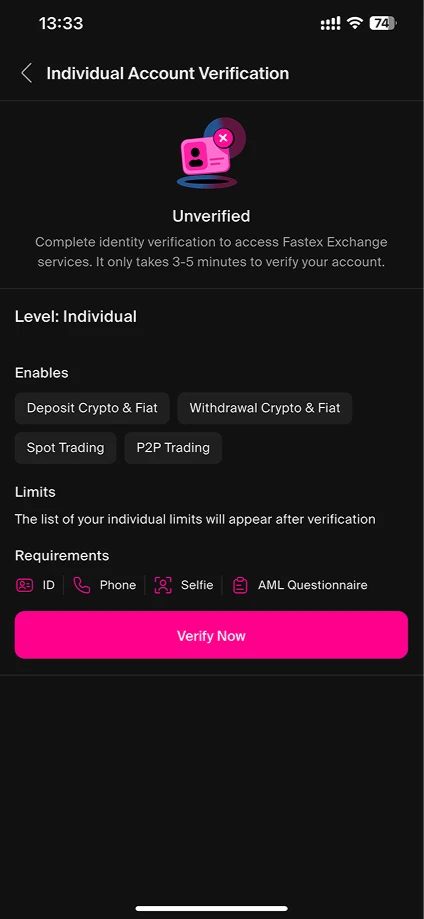
- Complete identity verification under "Verification" by uploading a passport or ID card and passing a facial recognition check.
STEP 2
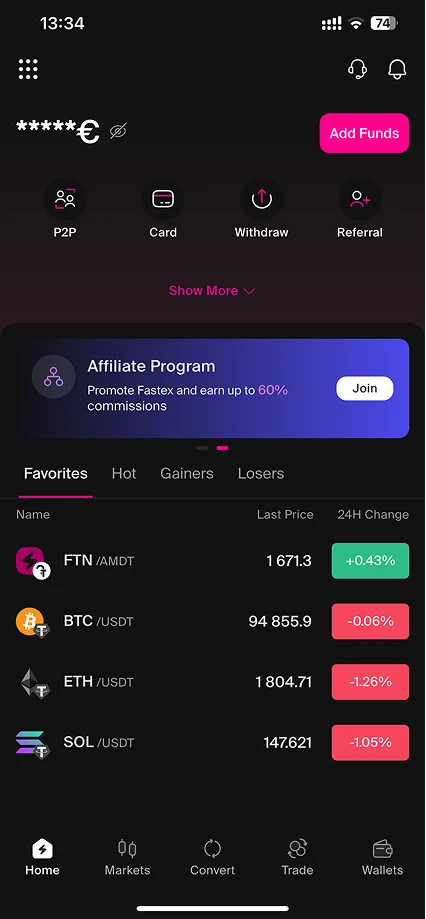
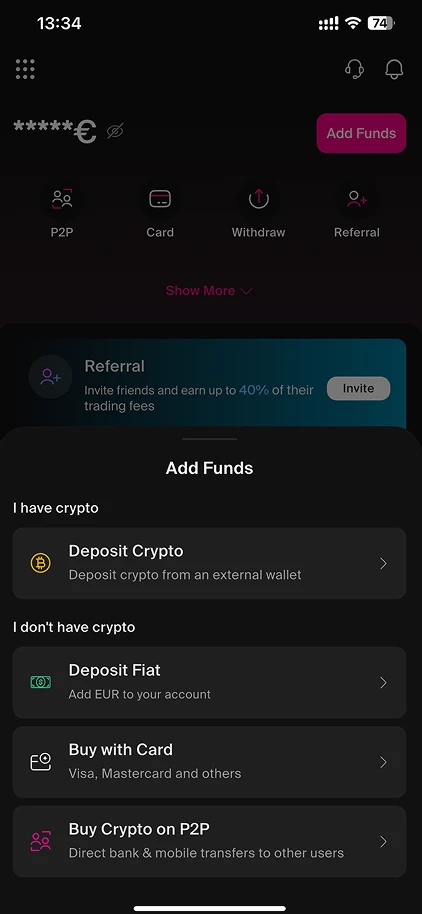
Go to "Add Funds"
- Log in and navigate to the "Add Funds" dropdown menu.
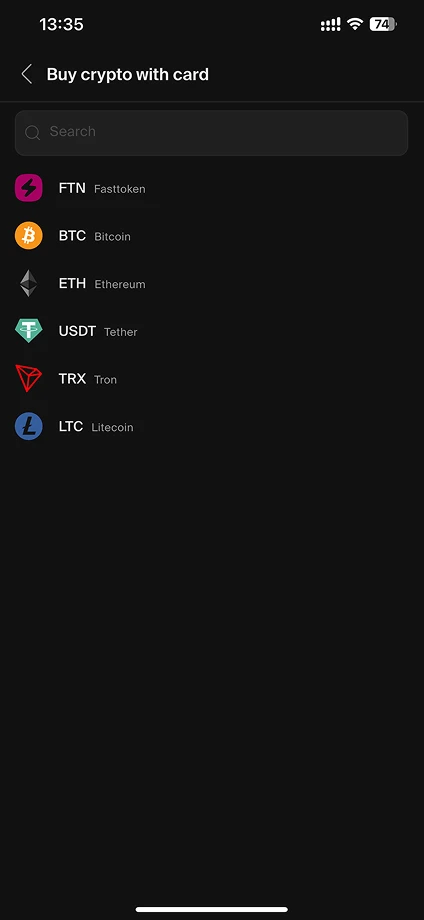
- Click on the “Buy with Card” button.
STEP 3
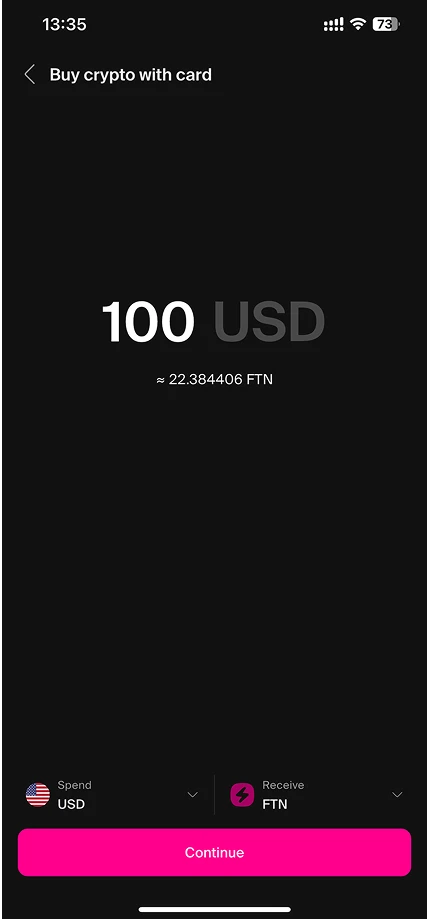
Enter the Amount
- In the "Spend" section, select your fiat currency (USD, EUR, etc.).
- Enter the amount you want to spend.
STEP 4
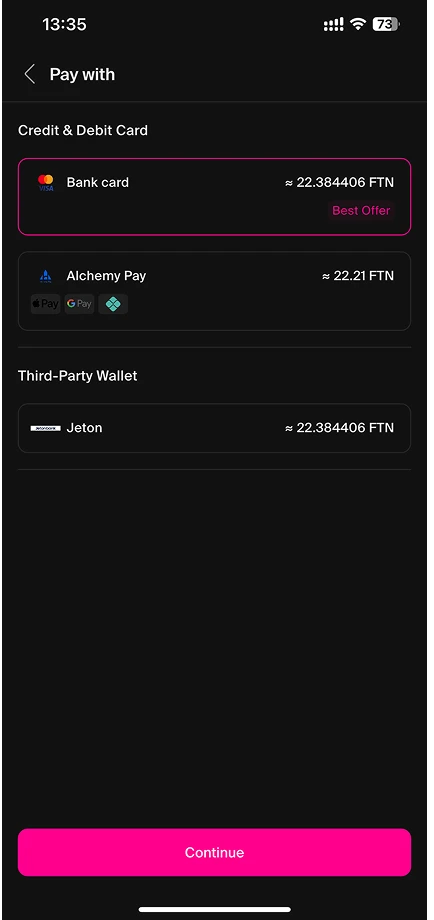
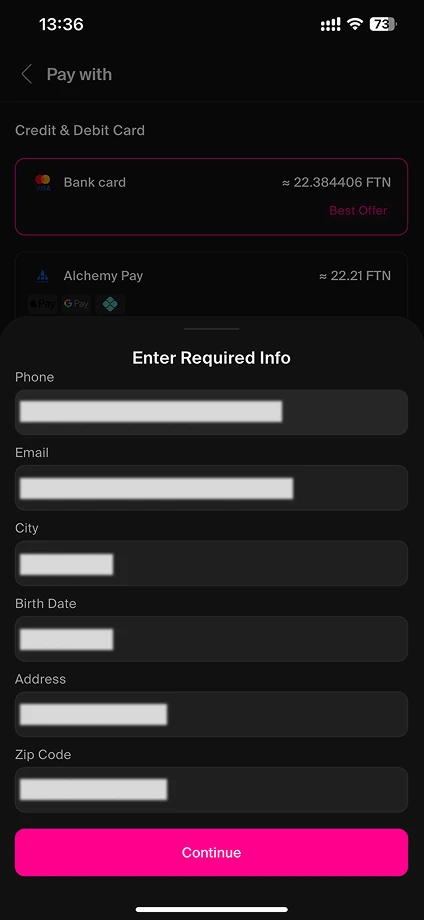
Choose the Payment Method
- Select your preferred payment method (credit/debit card, etc.).
- Click "Continue" to proceed.
STEP 5
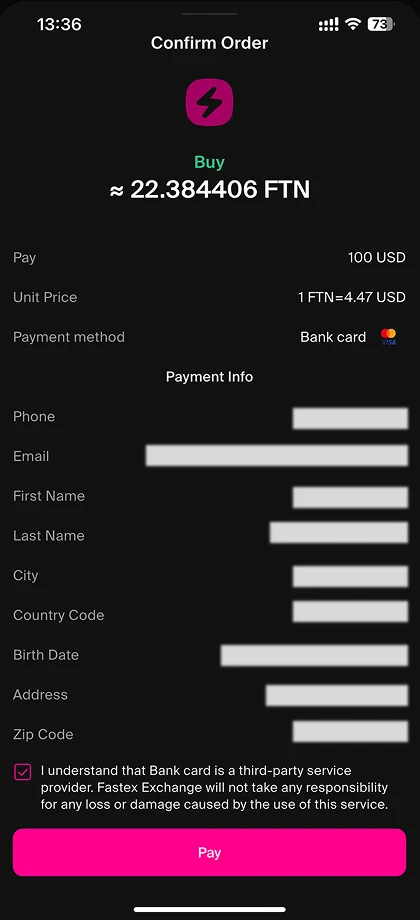
Confirm Your Order
- Review your order details.
- Enter your email and agree to the terms.
- Click "PAY" to initiate the transaction.
STEP 6
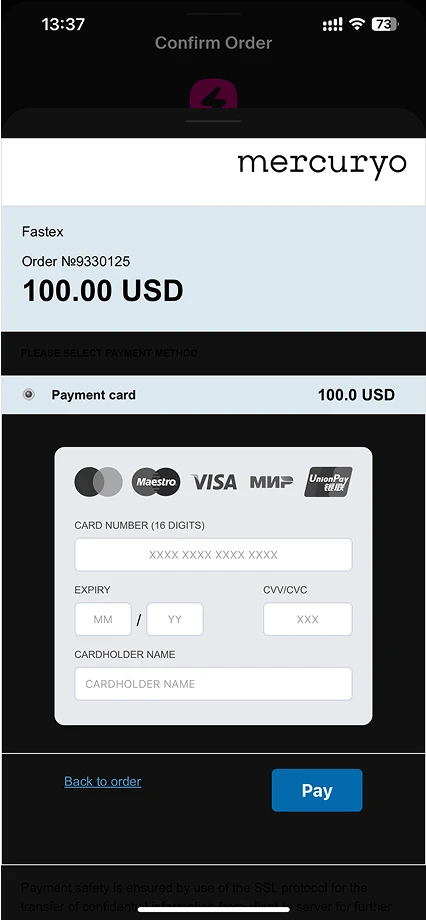
Add a Payment Method
- If it’s your first time using this payment method, enter your card details when prompted.
STEP 7
Receive Confirmation
Once your payment is processed, you’ll get a confirmation email - keep it for your records.
